The topic I would like to start with is Kindle Fire's ambient light sensor. Oh, you don't have any on your Kindle Fire? Maybe you never noticed it as Amazon turned it off with the first software update for some unknown reason (most likely, because it acted too nervously). Some users actually did notice, unfortunately only after the software update had removed the option on the Android GUI, but then could not undo the update. However, in my today's blog entry we're going to activate that sensor again.
So, where is that thing? Here's a not-so-good close shot of it:
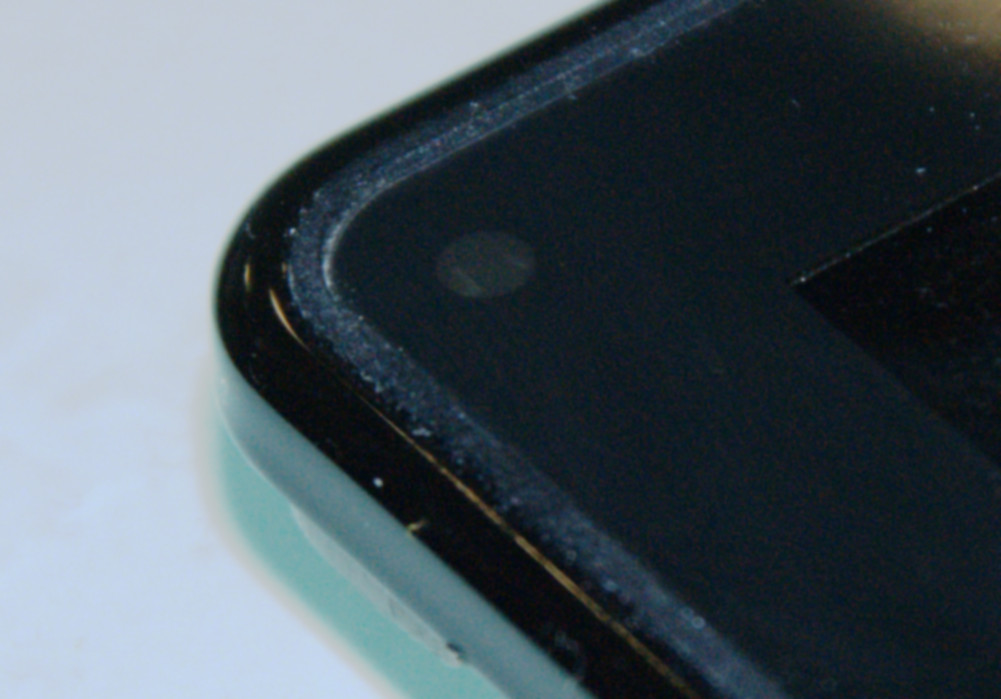
The ambient light sensor is behind the touchscreen glass and measures the intensity of surrounding light through a tiny hole. This hole is located in the upper left corner and some may have misjudged this to be a camera.
What else except for a Kindle Fire do we need to try it out? Basically, Amazon's released source code of the kernel or any other kernel source adapted to the Kindle Fire is enough (like the 3.0 series that is being maintained by Hashcode on xda-developers).
The sensor itself is a SenseTek STK22x7 and the kernel driver is in reasonable, but not very good shape and comes with those kernel sources. As the sensor is attached to the mainboard via one of OMAP4's I²C busses, it's located in $KERNEL_SRC/drivers/i2c/SenseTek. Compilation can easily be enabled via make config/menuconfig (in the submenu of I²C drivers), but still it won't detect the sensor simply because prior to releasing the kernel sources Amazon's developers seem to have disabled some of the registering code in the driver.
As all the basic code is there (stk_i2c_als22x7_kcx.c), you only need to change the last 2 occurrences of #if 0 in that file to #if 1 which re-enables that registering code. I myself also changed a few other things:
- removed probing for the 3rd I²C address 0x38. There's simply nothing there to probe for. I assume there's more than 1 flavour of the STK22x7 with additional features like a proximity sensor or IRQ-based triggers
- changed the STK22X7 config variables to tristate in Kconfig to be able to compile the driver as a module for further development (worked out of the box except for cleanly unloading the module)
This needs to be done via sysfs. The sysfs entries of the driver register at /sys/devices/platform/stk-oss and via
echo 1 > /sys/devices/platform/stk-oss/als_enable
you can enable lux measurements. Simply enable it, start continuous probing via
watch -n 1 cat /sys/devices/platform/stk-oss/lux
and cast different levels of light at the sensor from e.g. a torch light or a lighter and you will see how the values that come back from that device file will change.
That's it... :-)
The driver code itself can definitely use some cleanups as suspend doesn't work very well yet and it's still full of debug code. For Android you may need some extra work as this just enables the kernel-level driver.
No comments:
Post a Comment